Creating My Portfolio with Next.js and Sanity
Creating a standout online portfolio is a crucial step for any professional looking to showcase their work, and developers are no exception. When I embarked on the journey to build my own, I chose a combination of Sanity.io for content management and Next.js for the frontend framework. This combination promised a blend of flexibility, efficiency, and power. Here’s how I pieced together a dynamic, full-stack portfolio.
Choosing the Stack
Why Sanity.io?
Sanity.io is a powerful headless CMS that separates the content layer from the presentation layer, allowing for immense flexibility. Its real-time content studio, customizable schemas, and excellent content structuring capabilities made it a no-brainer for a content-driven site like a portfolio.
Why Next.js?
Next.js was an obvious choice for the frontend. Its server-side rendering capabilities are excellent for SEO, and its intuitive page routing and development experience speed up the development process. With Next.js, I could ensure my portfolio would be fast, user-friendly, and highly interactive.
Setting Up the Project
Initializing Sanity Studio
I started by setting up Sanity Studio. With a few commands in my terminal, I installed the Sanity CLI and ran sanity init to create a new project. This process set up the back-end content structure for my portfolio, where I would later add projects, blog posts, and about information.
Creating Schemas
Schemas in Sanity.io define the structure of the content. I created schemas for my projects, blog posts, and personal information. Each schema was customized to capture all the necessary details. For instance, my project schema included fields for the project title, description, image, technologies used, and the project URL.
Spinning Up Next.js
On the frontend side, I generated a new Next.js app using create-next-app, which quickly scaffolded a new project. I organized my components, services, and pages, mapping out where I would fetch and display data from Sanity.
Integrating Sanity.io with Next.js
Fetching Data
Next.js makes fetching data straightforward with its built-in functions like getStaticProps and getServerSideProps. I used these functions to query data from Sanity.io with GROQ (Graph-Relational Object Queries), Sanity’s query language. The integration was seamless, pulling in my project data and blog posts into my Next.js pages.
Real-Time Content Preview
One of Sanity.io’s impressive features is real-time content preview. I set up a live preview feature for my blog posts, allowing me to see changes instantly as I edited them in Sanity Studio. This was achieved by leveraging the real-time capabilities of Sanity's backend with Next.js's reactivity on the frontend.
Designing the Frontend
Aesthetic and Usability
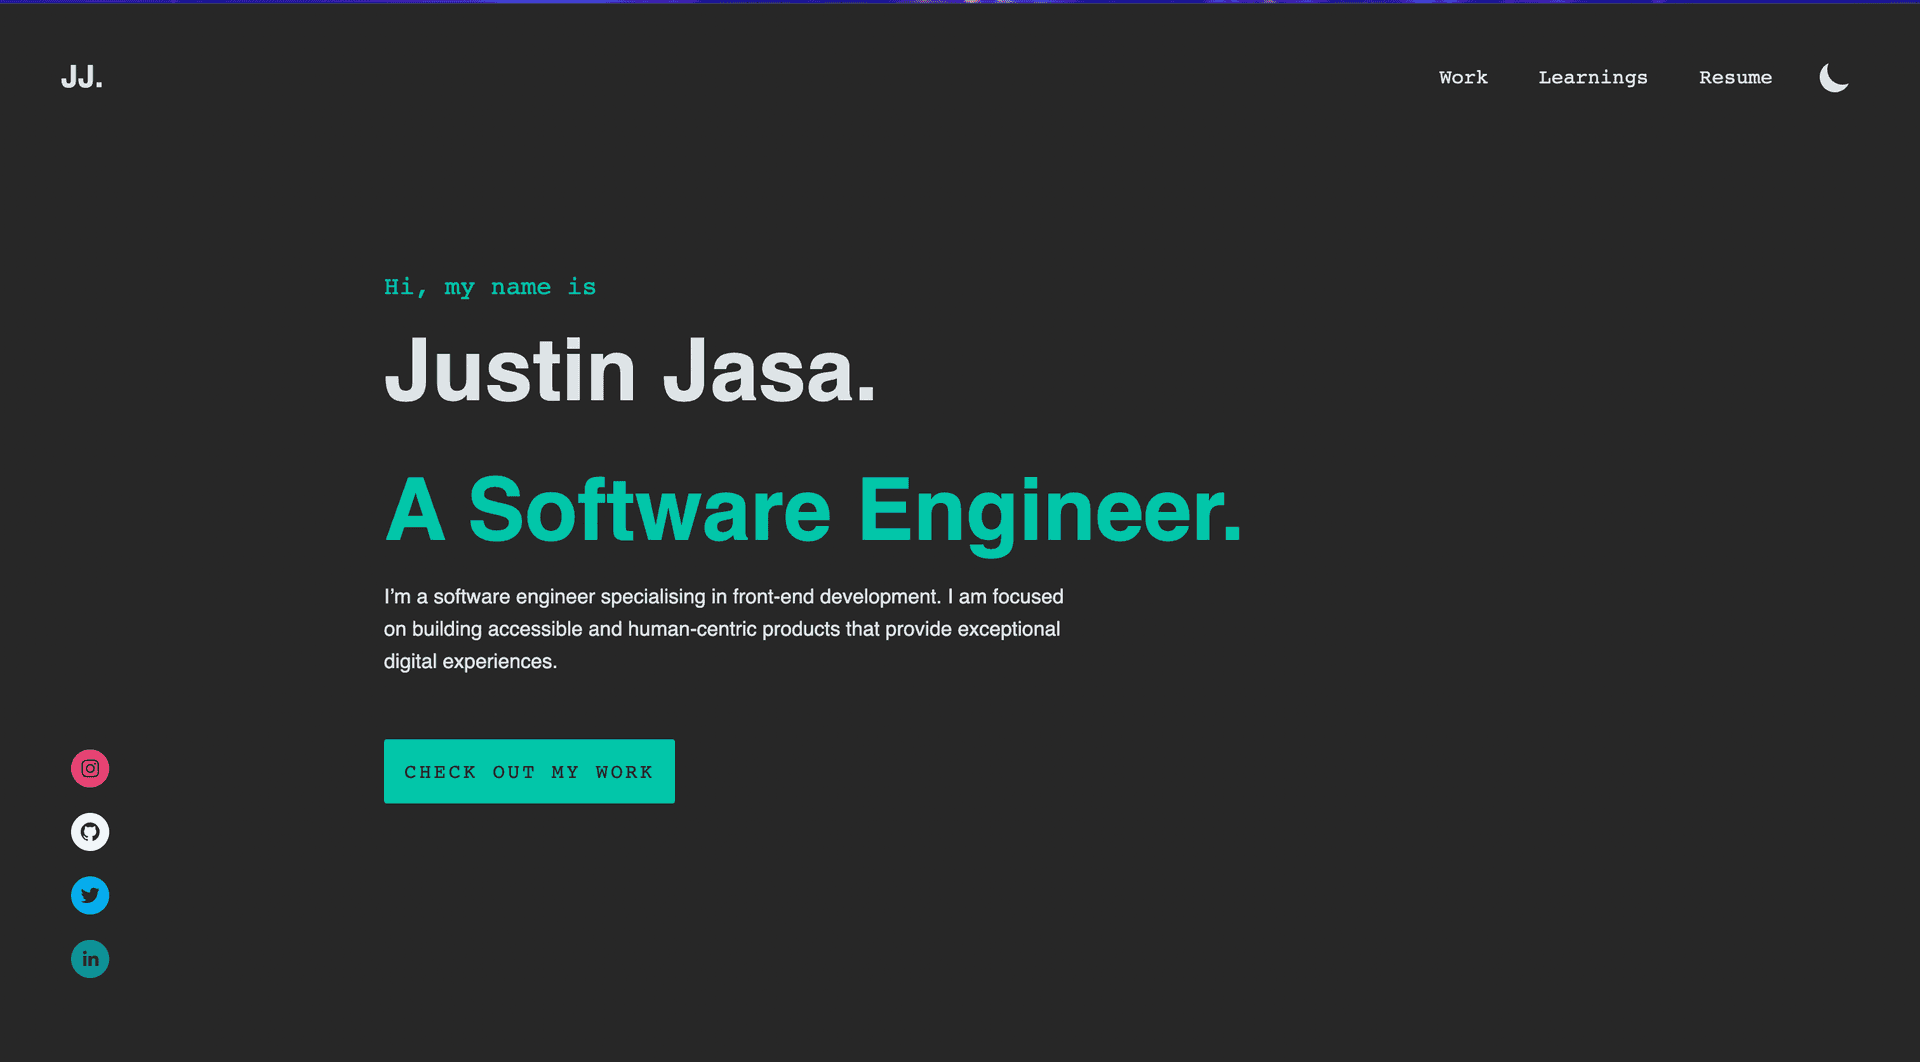
The design of the portfolio was minimalist with a focus on usability and responsiveness. I chose a simple color scheme and a clean layout to let my work speak for itself. The navigation was straightforward, with clear links to different sections of my portfolio.
Responsive Images
For project thumbnails and images in blog posts, I used Sanity.io’s image pipeline to serve optimized images for different screen sizes. This ensured fast load times and a responsive image experience.
Animations and Interactivity
To add some flair, I incorporated subtle animations and interactive elements using Framer Motion. This gave my portfolio a modern and dynamic feel without sacrificing performance.
Deploying the Portfolio
Sanity Deployment
With my content structured and schemas defined, I deployed the Sanity Studio with a simple sanity deploy command. This hosted the studio on Sanity’s servers, providing me with a content management backend accessible from anywhere.
Vercel and Next.js
For the frontend, I chose Vercel, the creators of Next.js, for deployment. Vercel’s integration with GitHub made deployment painless. Every git push to my repository triggered a new deployment, keeping my portfolio up-to-date with the latest changes.
Reflections on the Project
Challenges
One challenge was ensuring that the schema structures in Sanity.io matched my components in Next.js. Each change in schema required an equivalent update in the frontend components. Additionally, mastering GROQ to query exactly what I needed took some practice.
Successes
The flexibility of both platforms was a huge success. Being able to define exactly the data I needed for my portfolio through Sanity.io and then present it effectively with Next.js was empowering. The speed and SEO benefits from Next.js were immediately noticeable, and the workflow between the two was highly productive.
Final Thoughts
Building my portfolio with Sanity.io and Next.js was an enlightening experience. It taught me a lot about full-stack development, content management, and modern web technologies. Now, with every new project or blog post, I simply update the content in Sanity Studio, and my portfolio is automatically updated. The combination of Sanity.io and Next.js is powerful, and I would recommend it to anyone looking to build a flexible, scalable, and easy-to-maintain portfolio.
